Printed Sponsor Thank-Yous: Small Pieces That Make Event Partnerships Feel Finished
The short answer
A strong sponsor thank-you system uses more than one generic card. Put a concise recognition piece where guests will see it, give each sponsor a personal note or packet insert, and send a polished follow-up after the event. The pieces should share one visual system, but each should perform a different job.
For most events, I would build the system around three items: a sponsor table tent or display card, a flat card placed in the sponsor packet, and a folded or mailed card sent afterward. Add seals, labels, or giveaway stickers only when they support the experience rather than clutter it.
Match each printed piece to a moment
Sponsor recognition has three useful moments: arrival, visibility during the program, and follow-up. Trying to cover all three with one crowded card usually produces a piece that is too wordy for a table and too impersonal for a thank-you.
| Piece | Best moment | What it should say | Production priority |
|---|---|---|---|
| Table tent or display card | During the event | Sponsor name, logo, level, and a brief acknowledgment | Readable at a distance and stable when assembled |
| Packet insert | Check-in or sponsor welcome | A direct welcome, key contacts, schedule details, and appreciation | Easy to scan and sized neatly for the packet |
| Flat thank-you card | At a seat, gift, or welcome bag | A short personal message with room for a signature | Substantial stock and restrained branding |
| Folded card or post-event mailer | After the event | Specific thanks, event outcome, and a forward-looking closing | Writing space, envelope fit, and postal planning |
Event-print guidance commonly groups flat cards, folded cards, labels, stickers, mailers, and tent cards as complementary materials. Folded table signage is particularly suited to sponsor recognition and event information, while folded cards offer more message space than flat cards. The format should follow the message instead of forcing every message into the same rectangle.
Design recognition for the viewing distance
A table piece is signage, not stationery. The sponsor name or logo should be the dominant element, with the acknowledgment line secondary. Keep qualification language such as “presenting sponsor” or “supported by” consistent across every display. Small body copy, long mission statements, and multiple calls to action belong elsewhere.
Construction matters as much as layout. One current paper table-tent configuration is supplied flat at 4 by 6 inches on 16-point semi-gloss stock, then assembled using scoring and interlocking slits. Its one-sided print becomes a double-sided display after folding. Because scores, slots, and bent edges are functional parts of the finished object, request the printer’s dieline rather than drawing the structure from memory.
For outdoor receptions, beverage stations, or damp venues, ask whether a synthetic stock is appropriate. Nekoosa describes its polypropylene synthetic paper as waterproof, tear-resistant, and suitable for scoring and folding, with table tents among its listed applications. Its production guidance also distinguishes between digital and offset grades, so the material must match the printer’s process. Review Nekoosa’s synthetic-paper printing guidance before specifying it, then confirm the final choice with the vendor.
Make the personal card feel genuinely personal
The sponsor’s private thank-you should not read like the public recognition sign. Address a person when possible, identify the support being acknowledged, and mention one concrete part of the event that the contribution helped make possible. Avoid unsupported impact totals or sweeping claims; specificity can come from the program itself.
A useful message structure is simple: thank the sponsor, name the contribution, connect it to the event, and close with a human next step. For example: “Thank you for supporting the student showcase and helping us welcome this year’s participating teams. We appreciated having your staff with us and look forward to sharing the event recap.” Leave room for a real signature and, when appropriate, a brief handwritten sentence.
Choose a flat card when the message is short and presentation matters. Choose a folded card when several people will sign, the note needs privacy, or the inside must carry a longer message. The broader flat-card and folded-card comparison can help settle that structural decision before artwork begins.
Treat the post-event mailer as the final deliverable
The follow-up card should leave promptly enough that the event still feels current. Prepare the design, mailing list, envelopes, and approval path before event day. Afterward, the team should only need to add the final message, signatures, and any verified result or photograph.
If you want postcard pricing, design to postal rules from the beginning. USPS states that a qualifying rectangular First-Class Mail postcard must be between 3.5 by 5 inches and 4.25 by 6 inches, with thickness from 0.007 to 0.016 inch. Larger pieces may be charged at letter prices. USPS also cautions that flimsy cards can be damaged and that attachments such as stickers or magnets may affect eligibility or mailability. Check the current USPS postcard size rules before committing to the format.
An envelope gives you more freedom for a folded card, loose photograph, or additional insert. It also keeps the message private. If the sponsor thank-you is meant to feel formal or personal, that extra layer is usually worth more than the simplicity of a postcard.
Build one visual family, not four matching clones
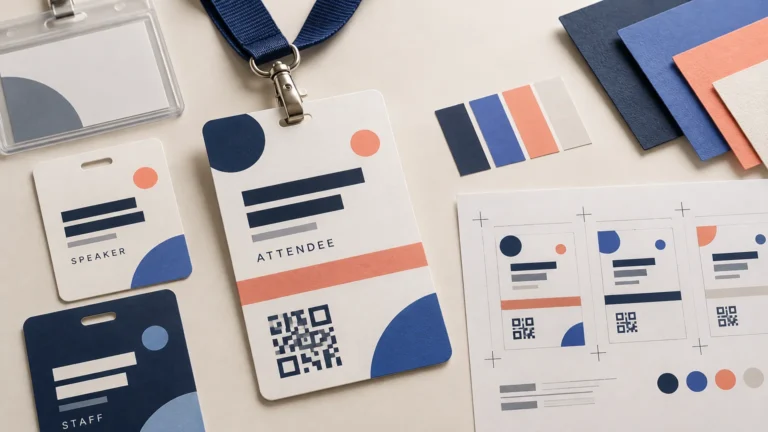
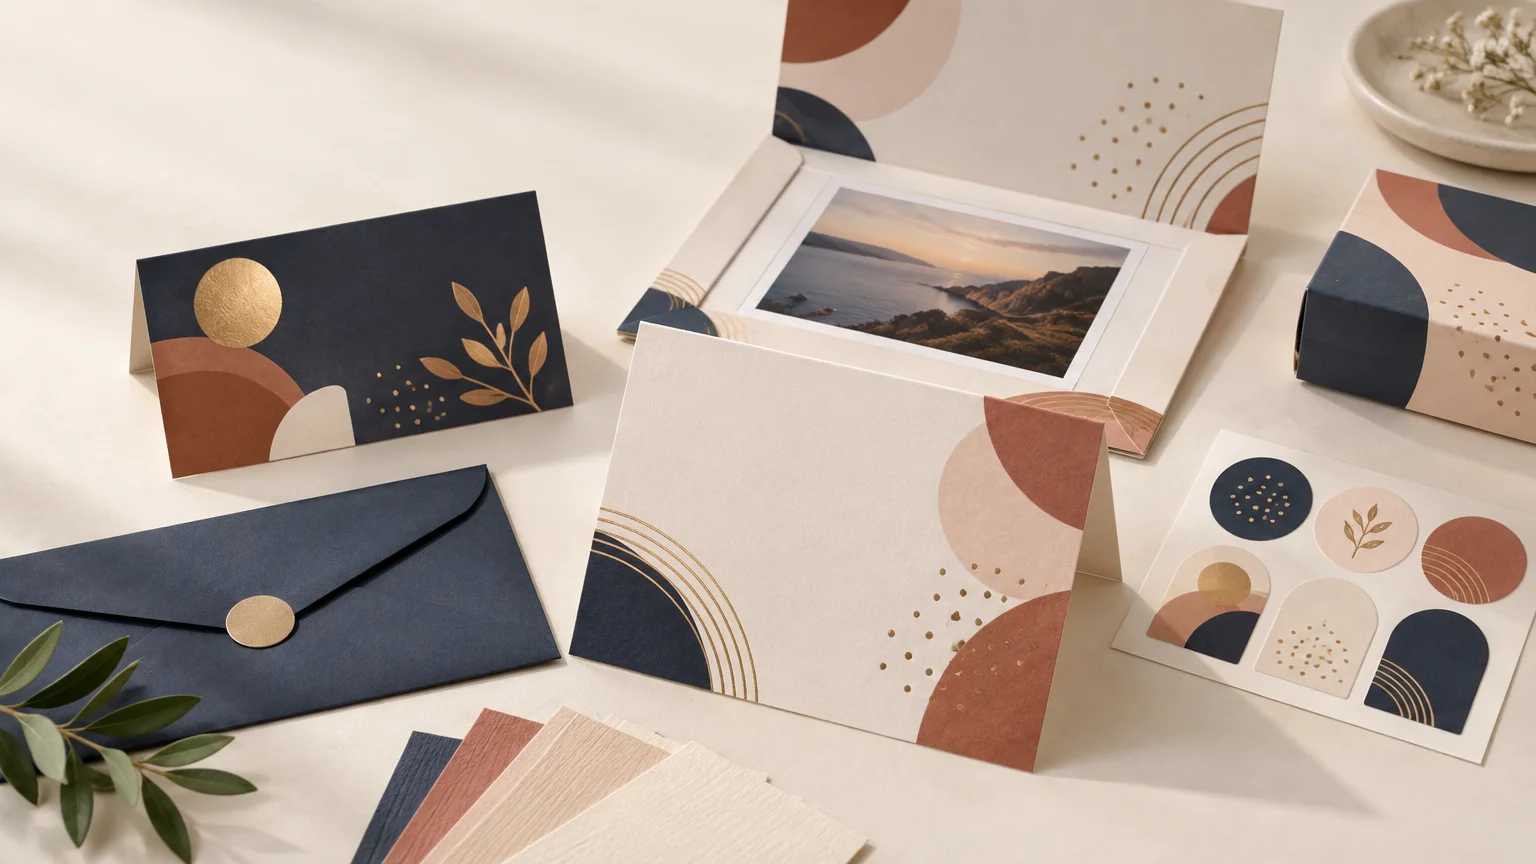
Carry the same core elements through the set: color palette, typography, sponsor-name treatment, event mark, and acknowledgment wording. Then adjust the hierarchy for the context. A table tent needs scale, a packet insert needs organization, and a mailed card needs emotional warmth.
Small coordinated details can connect the pieces. A printed envelope seal, gift-box label, or giveaway sticker can repeat a color or event motif without turning the thank-you card into advertising. If the event kit needs coordinated custom stickers and labels, prepare them as part of the same artwork family and decide whether the adhesive should be permanent or removable for the intended surface.
Keep the file workflow equally coordinated. Use unmistakable version names for sponsor lists, logo rounds, proofs, and approved production files; the print-project version naming method is especially useful when sponsorship changes continue close to the event.
Preflight the whole sponsor set together
Do not approve each item in isolation. Print or assemble a complete mock set and check logo versions, sponsor levels, names, dates, QR codes, folds, envelope fit, and reading order. Confirm that no sponsor has disappeared from one piece or inherited another sponsor’s designation.
- Obtain approved vector logos and record required clear space or color restrictions.
- Confirm the sponsor name, recognition level, contact name, and mailing address.
- Request templates or dielines for scored, folded, slotted, or die-cut pieces.
- Add the printer’s required bleed and keep essential text away from trims and folds.
- Proof the table piece at its actual viewing distance.
- Assemble one physical packet to test fit, sequence, and bulk.
- Approve mailing dimensions and attachments before printing the post-event card.
- Archive a final sponsor list and clearly labeled production files.
Adobe identifies 0.125 inch of bleed on every side as a typical commercial-print setup, while emphasizing that the printer’s requirements control. Bleed extends artwork beyond the trim and helps prevent unintended white edges after cutting. Its guidance also recommends using the printer-specified color profile for commercial output. Adobe’s marks, bleed, and color-output guidance provides a useful preflight reference.
The finished recommendation
Start with a three-piece sponsor system: a highly visible table display, a personal flat or folded card, and a prepared post-event mailer. Give each piece one clear purpose, repeat a disciplined visual language, and approve the entire set as a coordinated experience.
The next practical step is to create a one-page sponsor print map listing each piece, its audience, final size, material, delivery moment, message owner, and approval deadline. That small production document turns sponsor gratitude from a last-minute gesture into a finished part of the event.